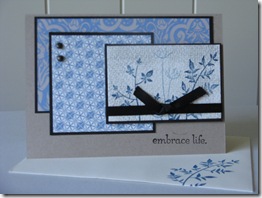
Manhatten Flower

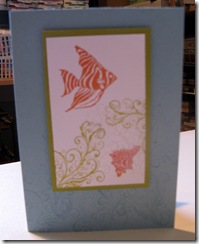
Aren’t these cards gorgeous?  These have been made using the Stampin’ Up Big Shotz embossing folder Manhatten Flower embossed onto vellum, cut out around the top and overlaid onto DSP then on to the card base.

Not entirely my original idea, I cased the idea from Splitcoaststampers (what would we do without this wonderful source of inspiration).

IMG_1003-1    IMG_1005-1

Which colour scheme do you prefer?

Santa Bob – Xmas 2009

Hope you all had as wonderful a Xmas Day as I did.  We spent the day at my daughter’s with my other daughter and her family and my sister and brother-in-law. Nine adults (includes my husband’s intellectually disabled brother) and our four grandsons.

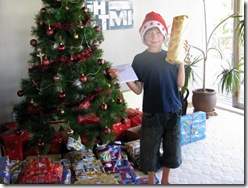
IMG_0966 This is Tyler – our Santa for the day.  One of his nicknames is Bob (when he was little he was always pretending to be Bob the Builder – his other nickname is TJ – pronounced ‘Tij) – hence he was called Santa Bob.  He took the job very seriously!  He’s such a sweetie – insisted on handing out everyone else’s presents before opening any of his own.

After a lovely Christmas roast lunch/dinner, bubbly and crackers, we all relaxed and opened our presents.

IMG_0970    IMG_0969

 IMG_0973    IMG_0976

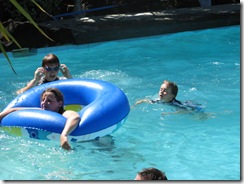
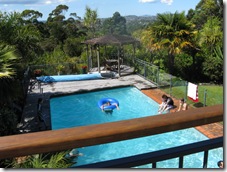
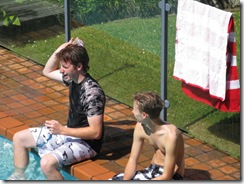
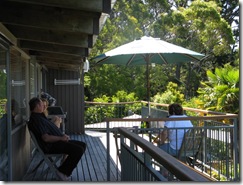
As it was such a beautiful hot sunny day everyone headed for the swimming pool or deck as you will see from these photos.  Sorry to rub this in to those of you that were shivering in the cold and/or wet.

IMG_0987   IMG_0983 IMG_0980   IMG_0994 IMG_0993   IMG_0997  

I’m sure you will all agree that it was the perfect Xmas day.  (And I got some real neat pressies too!!)  Christmas wishes to all.

Have yourself a very merry Christmas

This will probably be my last post before Christmas day so just wanted to thank everyone for checking out my blog and their encouraging comments.  I particularly want to pass on to each and every one of you my warmest wishes for a really wonderful Christmas day.

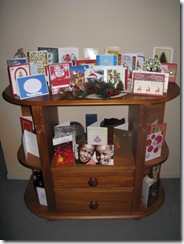
Just wanted to share with you some of the lovely handcrafted cards I have received.

IMG_0911


From my very talented friend Karen. 

I think I have already had this up on my blog but as it is so gorgeous it deserves to be shown again.


IMG_0950


This one came all the way from Scotland from Joan’s sister-in-law Carol.  Looks better in real life than my photo.  Hope to meet up with Carol again when she comes over in the New Year to visit with Joan and David.

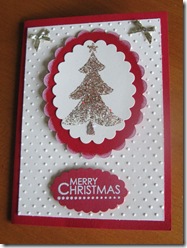
IMG_0956


Another lovely card that isn’t done justice in this photo.  This one is from my dear friend Joan and even though it doesn’t show in the photo believe me this Xmas tree is all a-glitter.  It really stands out.


IMG_0953


A gorgeous card from a gorgeous lady – Pauline in Napier.  You can check out Pauline’s wonderful creations in Up2Scrap, a New Zealand magazine that have picked Pauline as one of their elite design team for 2010.  Congratulations Pauline – well deserved.


 IMG_0954

This lovely card is from Jacque whose cardmaking classes started me on this journey.  The background is actually Very Vanilla, not white, but for some reason I am having trouble with my camera picking out the difference.


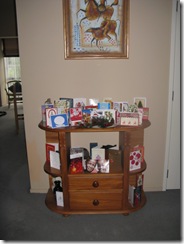
I have received so many lovely cards and messages this year – take a look.

IMG_0964           IMG_0962

Thank you everyone.  I am so grateful for all the support I continue to receive and am glad that this Christmas I am feeling so much better and can enjoy myself with family and friends.

Take care, have fun and I’ll hopefully have some Xmas photos to share with you.

Crackers and more crackers

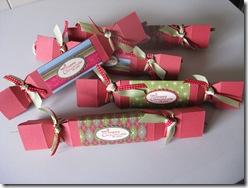
Have just finished making all the Christmas crackers to go on the dinner table Christmas day.  Here’s a few of them:

IMG_0943


These should look colourful on the table.

Hope they like what’s inside!

Christmas Card Finale

Well I hope this is the final lot of Christmas cards so that I can now get on and make boxes, crackers, etc. and I guess I should add to the list of things to get done – the rest of my gift shopping and organise food for the ‘big’ day!

IMG_0909

This one was made using the Stampin’ Up Soft Holly wheel on Very Vanilla cardstock and coloured in the berries with Bravo Burgundy marker.  I used my Cuttlebug to emboss a piece of Always Artichoke cardstock then used my SU Eyelet Border punch down one side.  I finished this off with 5/8” Bravo Burgundy ribbon and behind the sentiment stamped in Very Vanilla, I used the oval scallop punch on the Bravo Burgundy cardstock.  Quite easy and quick to make.

IMG_0826-1

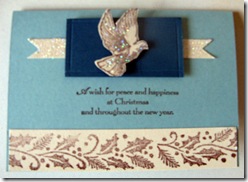
In this one I used the beautiful dove stamp from the Stampin’ Up “A Wish for Peace” set.  I was trying to utilise all the implements I have bought (trying to justify what I spend) so the white card has once again been embossed with the Cuttlebug and the scalloped square and leaves were cut out using my Slice machine.  I used a small leaf stamp to stamp over the leaves to make them look more authentic.  The dove has been glittered with Dazzling Diamonds.  Cardstock used is Bashful Blue and Whisper White.

IMG_0936

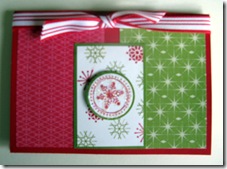
I hardly ever use the examples in Stampin’ Up’s idea books and catalogues, but I should as there are some lovely cards and layouts in them.  I particularly liked this one so recreated it.  If you go on to Stampin’ Up’s website they give you a list of materials used in each project.  I didn’t have any Very Vanilla ribbon in the right width so improvised and cut a piece of Very Vanilla cardstock then glittered it with Dazzling Diamonds.  As you can see it was quite a nice effect.  I also didn’t have the Frames with a Flourish stamp set for the Not Quite Navy background piece, so just scored around the inside to give it a different effect.

IMG_0915     IMG_0916

IMG_0917 Last, but not least, is this trio of cards all very similar and using the popular Stampin’ Up set “Season of Joy”.  I don’t own this set (yet!!) so had to borrow it but feel I should get it as it is so versatile.  The DSP used is from the Spring Mini – Ski Slope.

Well there you have it – my Christmas cards for 2009 are all complete.  Hope all your preparations for Christmas are going smoothly.

Answer time

On my ‘More Christmas Cards’ post was a photo of a card I made using the Magic Snowflake technique which, if I am correct, is the same as the emboss resist technique.IMG_0889-2

The card in the photo above is the card in question that a couple of people have asked me about.

This is the link for the Emboss Resist technique - http://www.splitcoaststampers.com/resources/tutorials/embossing_resist/

However, I used the Magic Snowflake technique: http://www.splitcoaststampers.com/resources/tutorials/magic_snowflake/ which when I compare is slightly different to the Emboss Resist technique.

So I hope this answers your questions Anne and Debbie – do give it a try it’s fun.

Summer Mini Peeks and swaps

In my last post I told you how I had gone to the WOW PaperKrafters training and Christmas get-together and I showed you the bookmark I had made as a swap.

As promised, here are the swaps I received in return.  What a talented group these girls are.  They all utilise some product from the new Summer Mini released today.
IMG_0911

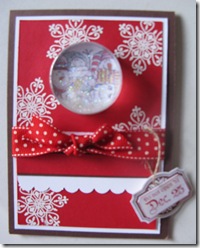
This is the absolutely stunning Christmas card Karen made using the Sweet Treat cups that are now available in the new Summer Mini.  Instead of sweets Karen stamped some cute snowmen behind the cup and filled the cup with a glitter liquid that made it look like swirling snow when shaken.  How clever’s that!  Love the ribbon, also new in the Summer Mini.
IMG_0906

This was from Janine using the new Hello Again stamp set – really cute.

IMG_0907

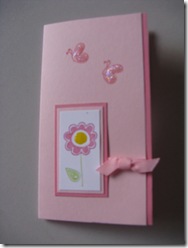
Debbie used the new butterfly punch to punch out the sweet little butterflies from the Butterfly Prints stamp set.  Also note the Jumbo Grommett behind the ribbon bow.
IMG_0908

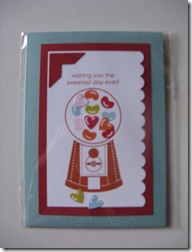
This is from the stamp set Something Sweet which can also team up with the Sweet Treat cups.  Sally made this ‘sweet’ and colourful card.  Love those colours. They work really well together.

IMG_0905

Last but by no means least, Lesley made not one, but three swaps!  The little bag holds bay leaves.  A great way to give away a little something to someone.  In the centre is a lovely bookmark, which I will be using when next I have time to read my library book.  On the right is a cute little card also using the butterflies.

Hope you are impressed as I was.

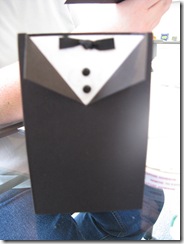
But that’s not all (I sound like one of those ads!!!)  Janine demonstrated making these adorable bride and groom boxes.  Imagine these on a wedding table.
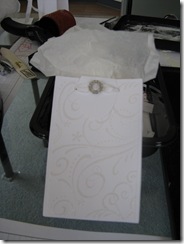
IMG_0894              IMG_0896

I’m still not finished because we did a couple of make and takes.  Just look at these
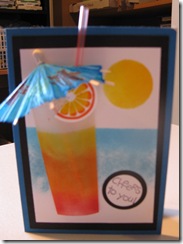
IMG_0903             IMG_0904

A full on afternoon but so much fun.

A cute child's bookmark

Are you giving books to any child this Christmas?  Why not make them a cute little magnetic bookmark.  These are ideal as they stay in place and cannot fall out of the book.  This encourages children to read more if they can easily find which page they are up to.

On the left is the actual bookmark (please excuse fuzzy photography) and on the right you can just see it peeping out from the pages of a book

The stamp set is a sneak peak from the new summer mini catalogue - Animal Stories that I was lucky enough to have received when I was Karen's guest at their Regional Training Day in September.  I couldn't tell you then what it was but can now.  
I made a few of these children's bookmarks to take this afternoon to Karen’s Christmas get-together she was having with her Stampin’ Up team (the WOW PaperKrafters – of which I am lucky enough to be an honorary member!).  These were for the swap and I received some neat swaps back which I will photograph and show you later.

Hope you had a nice day – I know I did.

A new look … what do you think?

Would love to have your feedback on this new layout.  I think a lot of people have given up clicking on links to my blog as it wasn’t formatting correctly and individual posts were appearing at the bottom of the page necessitating a lot of scrolling down to find them.
I am hoping that this will solve the problem and make it easier for my visitors to view. There is still a bit of tweaking to do such as adding in my list of sites I visit, but hope to have this done shortly.
Thanks and look forward to your comments.

A Stem Silhouettes birthday

This is such a lovely stamp set – versatile and practical as it can be used in conjunction with quite a number of other stamp sets.

Today I have used it to make a card for a man.  Kingsley is a keen gardener and though I didn’t quite want to make a flowery card for him, thought this was very appropriate.
IMG_0859 I originally made this card, but with flowers instead of the stem silhouettes at one of Karen’s classes so decided to use this concept as it adapted to the stem silhouettes beautifully.

Kingsley is presently recovering from a heart bypass operation so hope he enjoys this and is back in his garden soon – oh, and Happy Birthday!.

PS:  Three blog posts in one day – a record for me!
Thanks for popping in to catch up on what is happening in my life. I enjoy sharing my love of stamping and cardmaking and invite you to have a look at the projects I have made. You are welcome to take my ideas and use them in your own creations.
 
Copyright 2009 Cards, scrapbooking & musings!! All rights reserved.
Blogger Templates created by Deluxe Templates
Wordpress Theme by EZwpthemes